 Pizyn
The workflow in four steps
- Design. Pick a style, describe the subject, generate. Draft at 1K (4 credits) while you are exploring; re-run the winners at 2K (6 credits) for the final.
- Compare variations. Generate 2–4 versions of the same idea and compare them — the first draft is rarely the one. The Images control in the studio runs the same prompt two or four times in one click.
- Stencil. Like a design? Re-run it as a stencil: pure black line art on a transparent background, ready to print at the size you will wear. More on the print math below.
- Try it on, then take it to your artist. Preview the design on a photo of your own arm (the hero image above was made exactly this way), then show the artist the design and the stencil. They will adapt the lines for your skin and placement — that is normal practice, and a good artist improves the design rather than tracing it exactly.
The 8 styles, briefly
The generator has eight style presets, ranked by demand: fine line, minimalist, traditional, blackwork, Japanese, cybersigilism, geometric and microrealism — plus lettering and a stencil mode. Four of them, below; the rest are on the tool page, two examples per style.
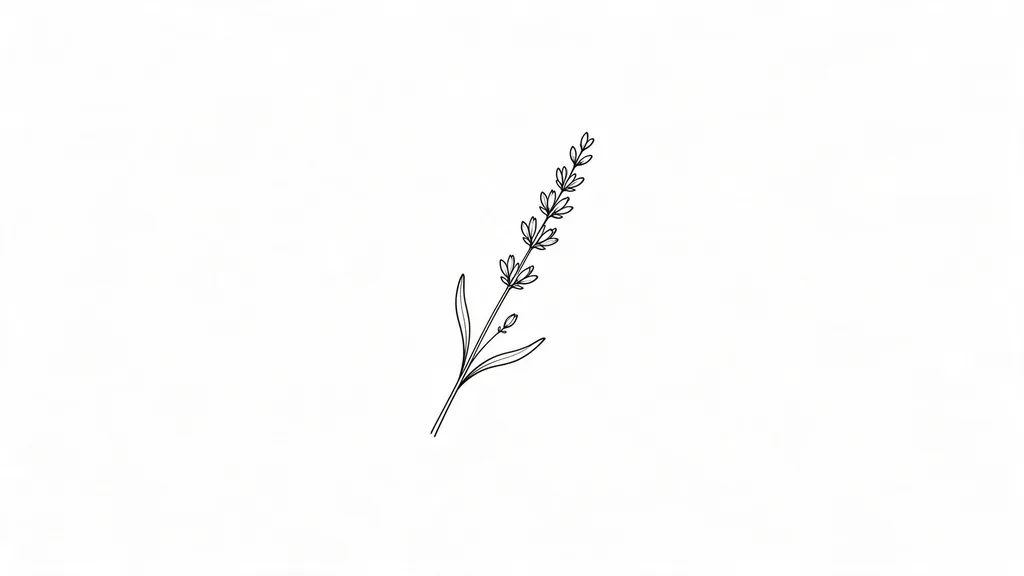
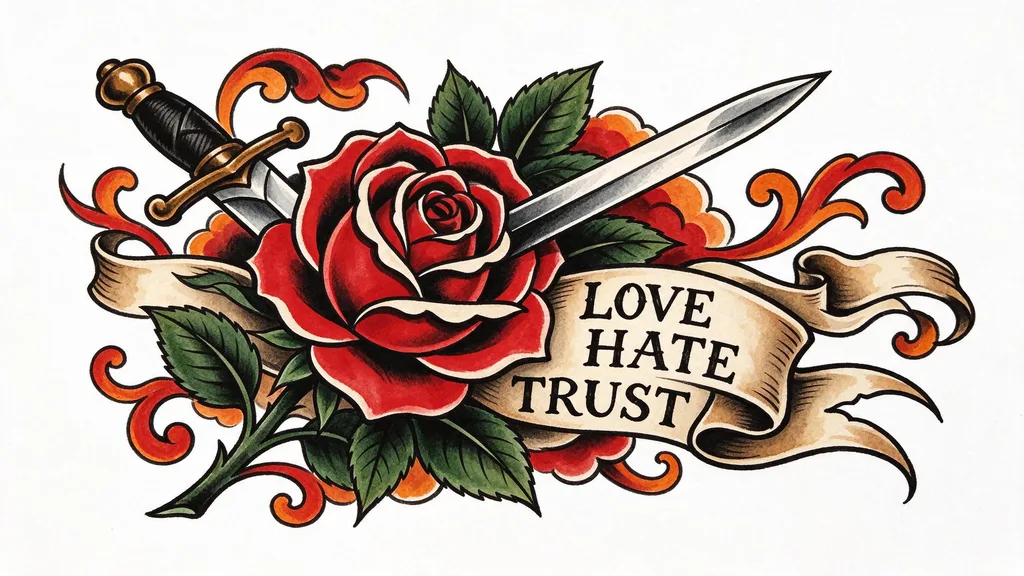
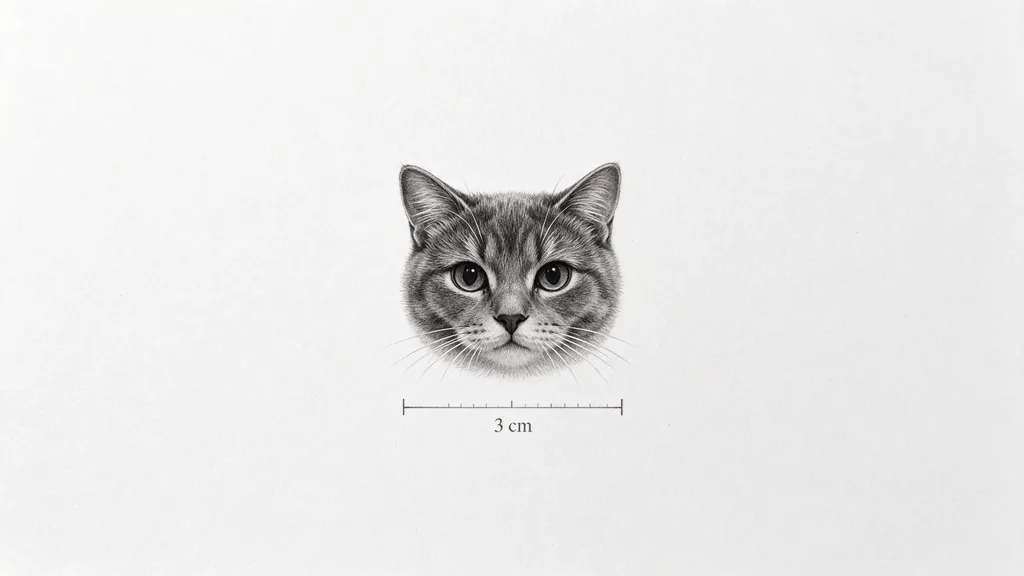
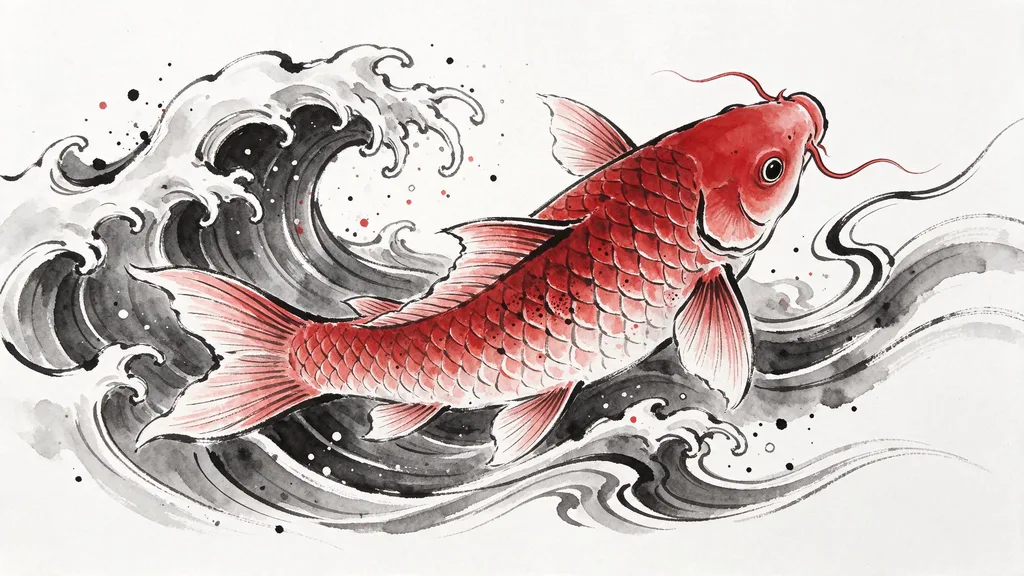
The other four: minimalist (one continuous line, best at 3–8 cm, the classic first tattoo), blackwork (solid black fills and dotwork — bold fills age best), cybersigilism (sharp angular sigils, same aging rules as fine line), and geometric (triangles and perfect symmetry, best on flat areas like the forearm or calf). Every style section on the tool page carries a size-and-lines note with the specifics.
Lettering: say where everything goes
Names and dates are the most common tattoo text — and a misspelled tattoo is permanent. The model handles short text well, but only if the prompt says where each element goes. "The word MAMA in thin script lettering, a small heart floating above the word" works; "MAMA with a heart" once came back as "Ma'aMa" with the heart splitting the word. The difference is the placement wording: above the word, not inside it. The Lettering chip in the studio loads exactly this template — swap in your own word, keep the placement wording.
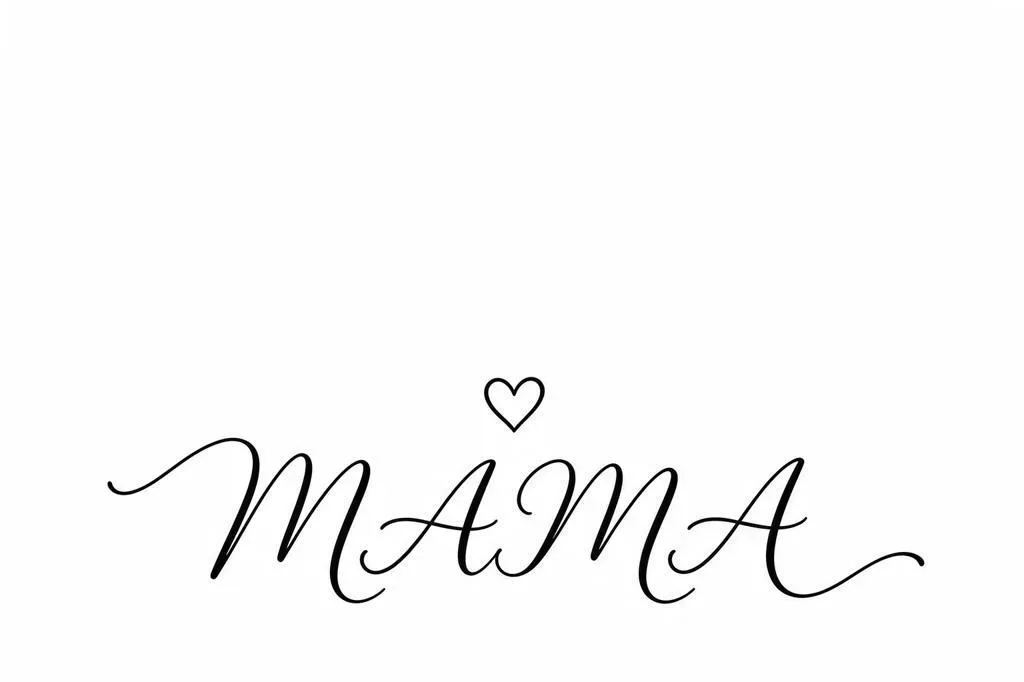
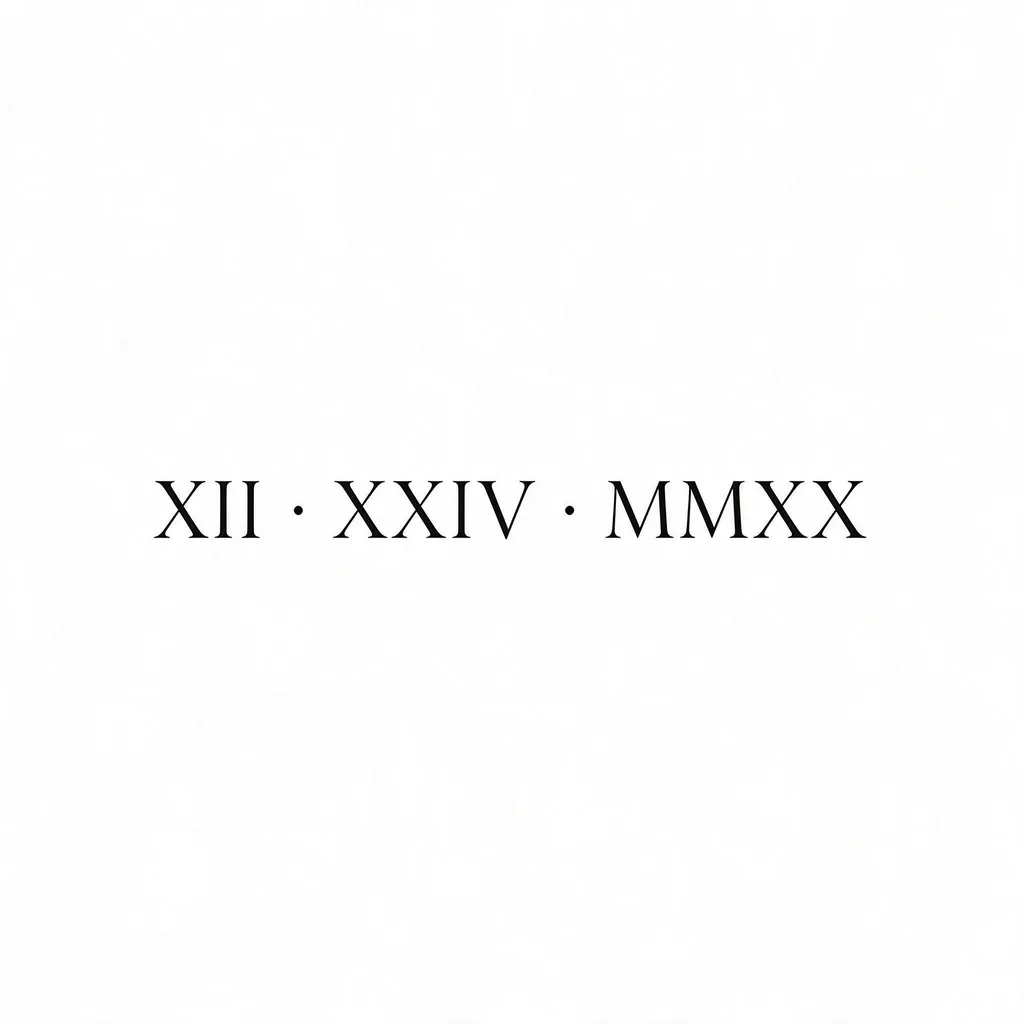
And the rule that outranks all of it: always proofread the result before you ink it. Lettering needs the most room of any style — if you have to lean in to read the stencil, it is too small to last.
Stencil: the print math
A tattoo starts as a stencil — black line art an artist transfers onto skin. Tick Transparent background in the studio and Seedream 5.5 returns a PNG with a real alpha channel: no white box to cut out, no background-remover pass. Print it at the size you will wear — and that is where the numbers matter: a 2K PNG is about 17 cm wide at 300 DPI, a 1K PNG about 9 cm. So if your design is meant to be 12 cm on your forearm, generate at 2K and print at 70% — or generate at 1K and print larger than the file, which costs you sharpness. The stencil costs no extra credits; transparency is included in the generation price.
Try it on your skin first
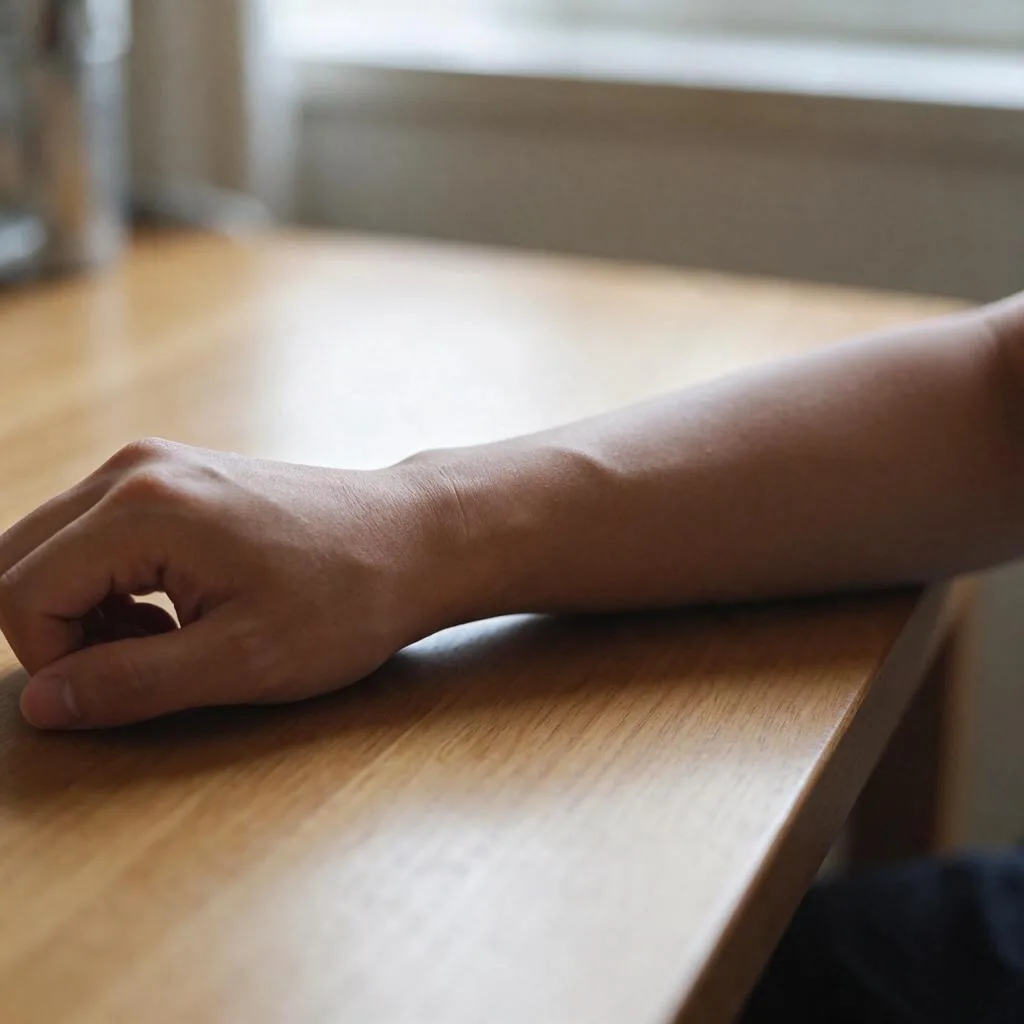
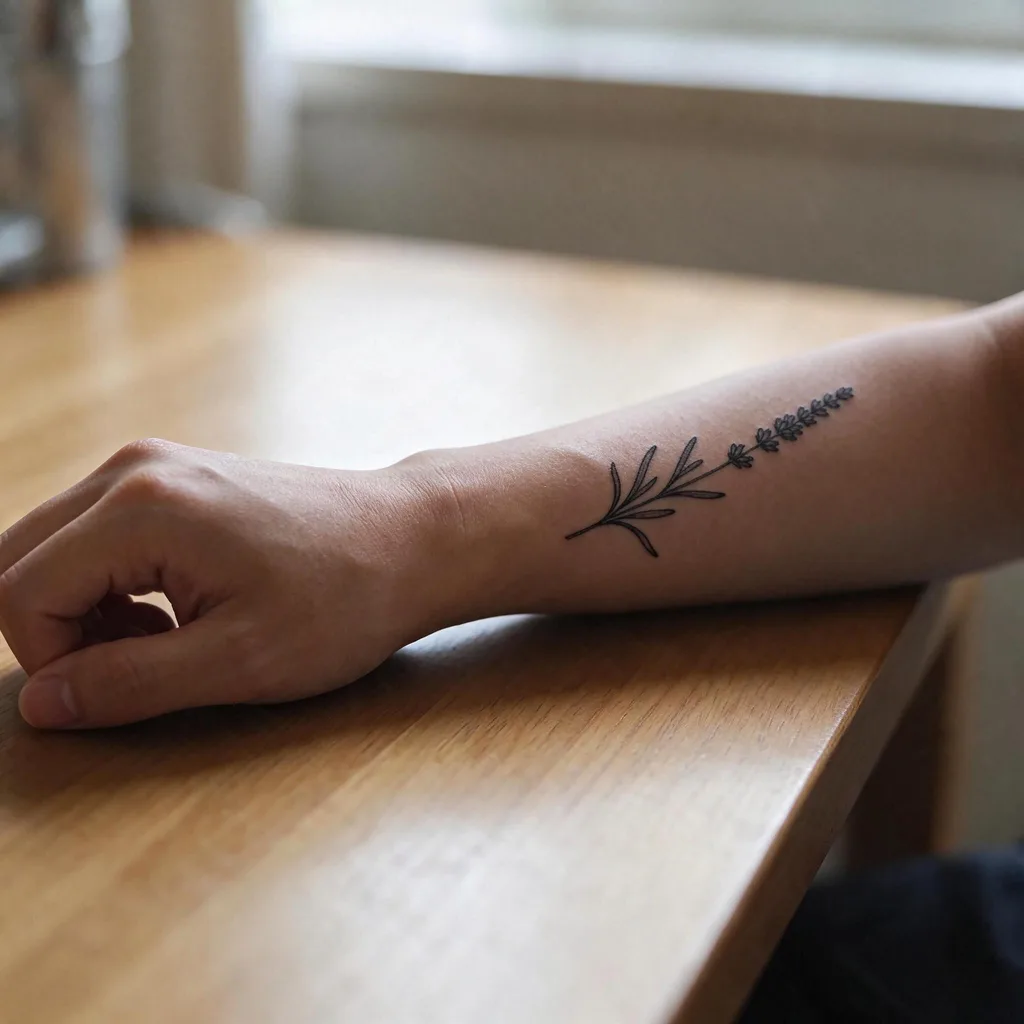
The design is only half the question — the other half is how it sits on your body. Switch to Image to Image, upload a photo of your arm plus the design, and ask the model to place the tattoo on the skin, following the arm's curve. The pair below is the real thing: the same forearm photo, before and after, generated with Seedream 5.5 as an edit. It is an edit, so it costs 5 credits at 1K or 8 at 2K — the cheapest way to answer "will this look right on me?" before anything is permanent.
What it costs
Live studio rates, checked against the manifest before writing. A credit is about $0.01 in pack terms; full pack pricing is on the pricing page.
- One design — 4 credits at 1K and 1.5K, 6 at 2K, about $0.04–0.06. All eight styles at 2K come to 48 credits — under a tenth of the $5 Mini pack.
- Try-on edits — 5 credits at 1K, 8 at 2K. Stencil output costs nothing extra.
- No subscription. Tattoo apps sell monthly plans — and their one-star reviews tell the story: charges after cancelling, no cancel button in the app, quiz funnels that take your money before showing a result. Here there is no subscription to cancel: one-time packs, credits never expire, charged only on success.
Bottom line
Designing a tattoo with AI is not about replacing the artist — it is about arriving at the appointment with a design you have already seen, at the size you want, on a photo of your own arm, as a stencil your artist can print. Pick a style on the AI Tattoo Generator, generate a few variations, and take the best one in. The artist does the rest — that is the part no model should do.